Introduction
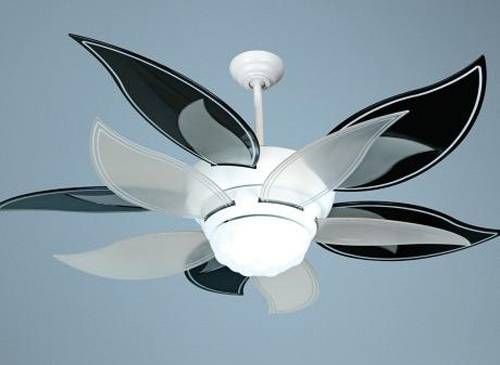
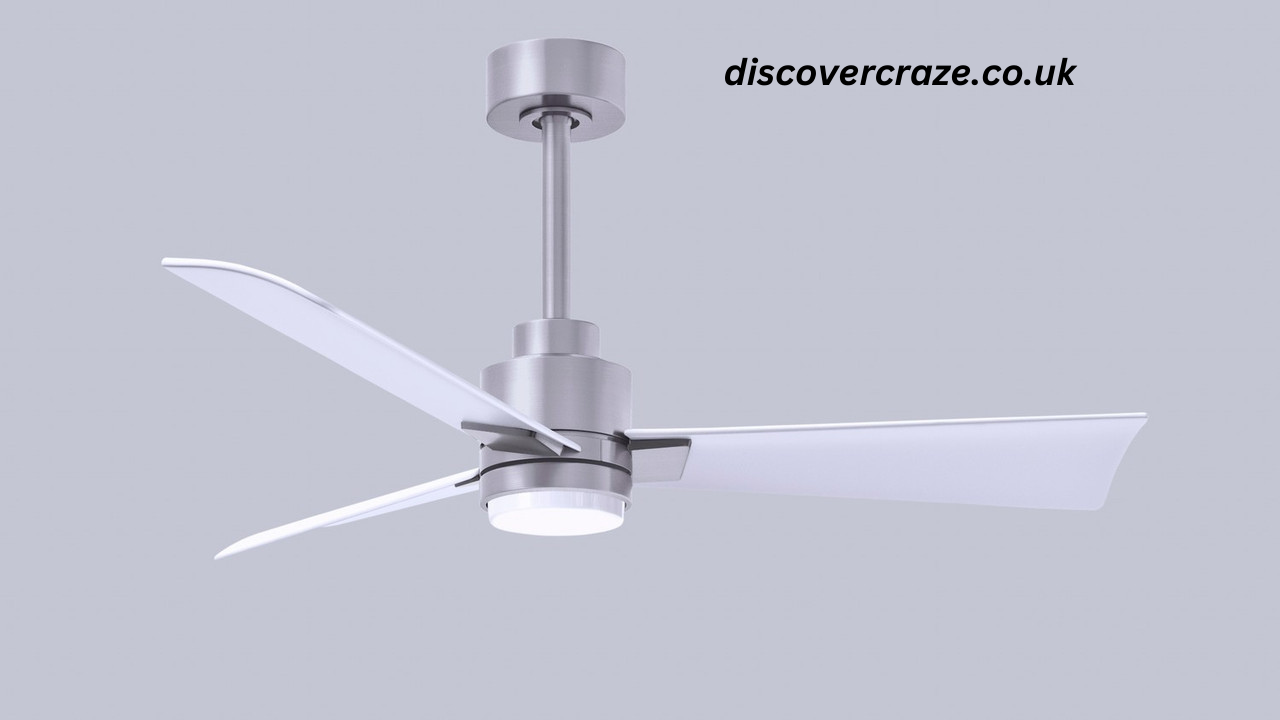
Ceiling fans with integrated lights add functionality and elegance to any space. Among the popular options, the Roto F Ceiling Fan stands out for its sleek design, energy efficiency, and versatility. However, like all appliances, it occasionally requires maintenance, such as replacing the light bulb. If you’re wondering how to perform a Roto F Ceiling Fan Light Bulb Replacement, you’re in the right place.
In this comprehensive guide, we’ll walk you through every step, from identifying the right replacement bulb to safely installing it. With simple instructions and practical tips, replacing the bulb in your Roto F ceiling fan will be a breeze.
Understanding Your Roto F Ceiling Fan Light Bulb
Before diving into the replacement process, it’s essential to understand the specific type of bulb used in your fan. The Roto F ceiling fan often utilizes specialized light bulbs that combine energy efficiency with long-lasting performance. Here’s what you need to know:
- Bulb Type: Most Roto F fans use LED or CFL bulbs. They provide excellent brightness while consuming minimal energy.
- Wattage: Always check the fan’s manual or label to identify the maximum wattage compatible with your fan.
- Size and Shape: Ceiling fan light kits often require bulbs with specific dimensions to fit snugly into the fixture.
- Color Temperature: Choose between warm, cool, or daylight tones based on your room’s ambiance.
Identifying these details ensures that you purchase the correct replacement bulb and avoid compatibility issues.
Step-by-Step Guide to Roto F Ceiling Fan Light Bulb Replacement

Replacing the bulb in your Roto F ceiling fan doesn’t have to be daunting. Follow these straightforward steps to complete the task efficiently:
1. Gather Necessary Tools and Supplies
Before starting, make sure you have the following items on hand:
- A compatible replacement bulb
- A sturdy ladder or step stool
- Screwdrivers (if needed to access the light fixture)
- A microfiber cloth for cleaning
- Gloves to protect your hands and prevent fingerprints on the bulb
2. Turn Off the Power
Safety is paramount when working with electrical fixtures. Ensure the fan and light are switched off at the wall. For added safety, turn off the circuit breaker supplying power to the fan.
3. Access the Light Fixture
Locate the light kit on your Roto F ceiling fan. Depending on the model, you may need to:
- Unscrew a decorative cap or housing
- Release a clip-on cover
- Twist off a glass dome or shade
Handle all components carefully to avoid damage.
4. Remove the Old Bulb
Once the light fixture is exposed:
- Allow the bulb to cool if it has been in use.
- Gently unscrew the bulb counterclockwise. If it’s stuck, use a rubber grip or cloth for better traction.
Dispose of the old bulb responsibly, especially if it contains hazardous materials like mercury.
5. Install the New Bulb
- Unbox the new bulb and avoid touching it with bare hands to prevent oil transfer.
- Screw the bulb into the socket clockwise until secure. Do not overtighten, as this may damage the fixture.
6. Reassemble the Light Fixture
Replace the cover, shade, or cap, ensuring it’s securely attached. Double-check that all screws and clips are tight to prevent rattling or detachment.
7. Restore Power and Test
Turn the power back on and test the light. If it doesn’t illuminate, double-check the bulb’s compatibility and seating.
Tips for Choosing the Best Replacement Bulb
The right bulb can enhance your ceiling fan’s performance and longevity. Here are some tips to help you make the best choice:
- Opt for LED Bulbs: These are energy-efficient, long-lasting, and available in various brightness levels.
- Match the Wattage: Never exceed the maximum wattage recommended by the manufacturer.
- Consider Dimmable Options: If your fan has a dimming feature, ensure the bulb is compatible.
- Check for Smart Features: Some bulbs come with smart controls, allowing you to adjust brightness or color using a smartphone or voice assistant.
Common Issues and Troubleshooting
Even with careful installation, you might encounter issues. Here’s how to address them:
1. Light Doesn’t Turn On
- Ensure the bulb is securely screwed into the socket.
- Check the wall switch and circuit breaker.
- Test the bulb in another fixture to confirm it’s functional.
2. Flickering Light
- Verify that the bulb is compatible with your fan’s dimmer switch.
- Inspect the socket for loose connections.
- Replace the bulb if it’s defective.
3. Uneven Lighting
- Clean the light fixture to remove dust and debris.
- Adjust the bulb’s position to ensure even distribution of light.
Benefits of Regular Maintenance
Replacing the light bulb is just one aspect of maintaining your Roto F ceiling fan. Regular upkeep offers several advantages:
- Improved Efficiency: Clean fixtures and functional bulbs ensure optimal performance.
- Enhanced Aesthetics: A well-maintained fan contributes to the room’s overall appearance.
- Extended Lifespan: Routine checks prevent minor issues from escalating, prolonging the fan’s life.
- Safety: Addressing wear and tear reduces the risk of electrical hazards.
Creative Ways to Use Your Roto F Ceiling Fan

The Roto F ceiling fan is more than a cooling appliance. Here’s how to maximize its potential:
- Mood Lighting: Pair your fan with color-changing bulbs to create different moods.
- Energy Savings: Use LED bulbs to reduce energy consumption.
- Decorative Statement: Select bulbs with unique shapes or finishes to complement your interior design.
- Smart Home Integration: Install smart bulbs to control lighting through apps or voice commands.
Where to Buy Replacement Bulbs
Finding the right bulb for your Roto F ceiling fan is easy. Consider these options:
- Manufacturer’s Website: Check the official site for compatible accessories.
- Online Retailers: Platforms like Amazon and eBay offer a wide selection.
- Home Improvement Stores: Visit stores like Home Depot or Lowe’s for expert advice and in-stock items.
- Local Electrical Shops: Support local businesses while finding specific models.
Customer Experiences
Users of the Roto F ceiling fan often praise its functionality and style. Here are a few testimonials:
- “Replacing the bulb was surprisingly easy! The fan looks as good as new.” – Emma T.
- “I love how versatile the lighting options are with this fan.” – Jack R.
- “The LED bulbs last forever. I hardly need replacements!” – Sarah L.
Conclusion
Replacing the light bulb in your Roto F ceiling fan doesn’t have to be a daunting task. With the right tools, a compatible bulb, and our step-by-step guide, you can enjoy a well-lit and efficient fan in no time. Regular maintenance not only enhances performance but also prolongs the lifespan of your appliance.
Whether you’re a DIY enthusiast or a first-time fixer, this guide equips you with everything you need for a seamless Roto F Ceiling Fan Light Bulb Replacement. So, the next time your fan’s light dims, you’ll know exactly what to do. Illuminate your space and keep your fan shining bright!
